
Boil-and-bite mouthguards are removable appliances designed to protect teeth and gums during sports or teeth grinding. They are customized by boiling to soften the material for a personal fit. These guards are popular for their cost-effectiveness and ease of molding at home‚ offering versatility for various activities.
What Are Boil-and-Bite Mouthguards?
Boil-and-bite mouthguards are protective dental appliances made from thermoplastic material that softens when exposed to hot water. They are designed to be molded to the shape of an individual’s teeth and gums by biting into the softened material. These mouthguards are commonly used for sports‚ martial arts‚ and nighttime teeth grinding. Unlike custom-fitted options‚ boil-and-bite guards are more affordable and can be fitted at home. They provide a snug‚ protective barrier to absorb impact and reduce the risk of dental injuries. Their popularity stems from their ease of use‚ cost-effectiveness‚ and ability to offer a personalized fit without professional dental assistance.

Why Use Boil-and-Bite Mouthguards?
Boil-and-bite mouthguards are an excellent choice for dental protection due to their affordability‚ ease of use‚ and customizable fit. They offer a cost-effective alternative to professionally fitted mouthguards‚ making them accessible to a wide range of users. These guards are ideal for athletes‚ individuals with bruxism‚ and those participating in contact sports‚ providing essential protection against tooth damage and gum injuries. Their ability to be molded at home ensures a snug fit‚ enhancing comfort and effectiveness. Additionally‚ they are reusable and easy to clean‚ making them a practical solution for anyone needing dental protection without the high costs of custom options.

Materials Needed for Boiling a Mouthguard
A pot‚ water‚ microwave or stove‚ tongs or slotted spoon‚ bowl of cold water‚ and a mirror are essential for boiling and fitting a mouthguard properly.

Essential Items
To properly boil and fit a mouthguard‚ you will need a few essential items. Start with a small pot or microwave-safe container to boil water. A microwave or stove is necessary for heating the water to the required temperature. A slotted spoon or tongs are needed to safely submerge and retrieve the mouthguard; A bowl of cold water is crucial for cooling the mouthguard after boiling. Additionally‚ a mirror can help you see the fitting process clearly. Ensure all items are clean and ready before starting the process to achieve the best results.
Optional Tools
While essential items are necessary‚ optional tools can enhance the process. A thermometer ensures water reaches the ideal temperature (around 80°C) for softening. A timer helps monitor boiling and cooling times accurately. Pliers or specialized mouthguard molding tools can assist in shaping the guard for a precise fit. Additionally‚ a second bowl of ice water can speed up the cooling process‚ allowing for quicker adjustments. These tools are not required but can improve the overall experience and result in a more comfortable‚ customized fit for your boil-and-bite mouthguard.

Step-by-Step Guide to Boiling a Mouthguard
Boil water‚ submerge the mouthguard for 30-60 seconds‚ then remove and shape it by biting down gently. Allow it to cool for a snug fit.
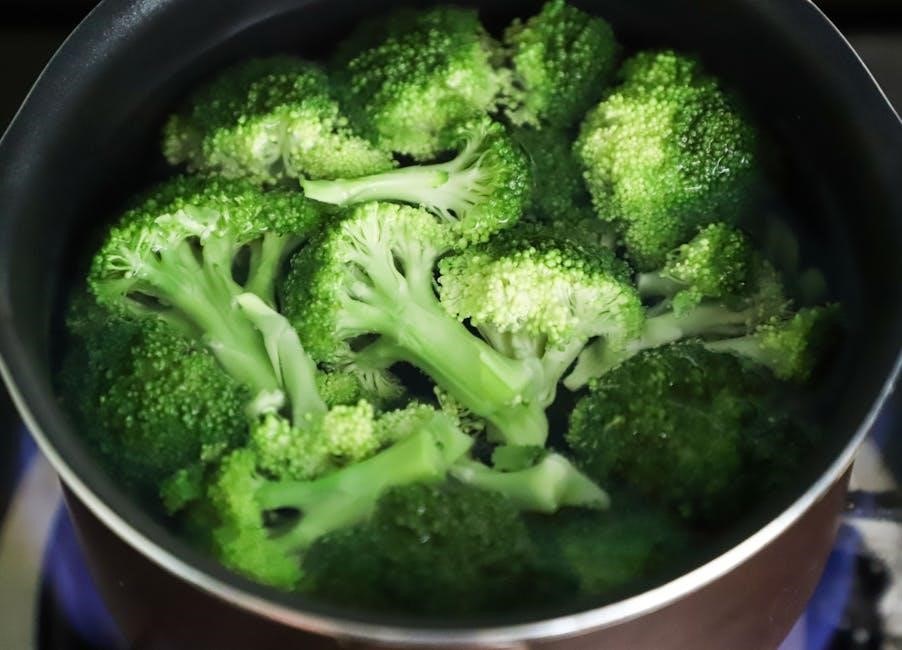
Preparing the Water
Start by filling a small pot or microwave-safe container with enough water to fully submerge the mouthguard. Bring the water to a rolling boil on the stove or in the microwave. Ensure the water reaches a temperature sufficient to soften the mouthguard material without causing it to deform. Some manufacturers recommend specific temperatures‚ so check the instructions provided with your mouthguard. Once boiling‚ turn off the heat to avoid overheating. Prepare a separate container of cold water for cooling the mouthguard after boiling. Properly preparing the water is crucial for achieving the right consistency for molding.
Boiling the Mouthguard
Submerge the mouthguard in boiling water for 30 to 60 seconds‚ or as specified in the manufacturer’s instructions. Use tongs or a slotted spoon to carefully place the mouthguard into the water‚ ensuring it is fully covered; Avoid overheating‚ as this can damage the material or cause it to become too soft. Once the time is up‚ promptly remove the mouthguard from the boiling water. It should now be pliable and ready for shaping. Be cautious‚ as the mouthguard will be hot. Proceed immediately to the shaping step to achieve the best fit. Always follow the instructions provided with your mouthguard for optimal results.
Shaping the Mouthguard
After boiling‚ immediately place the softened mouthguard in your mouth‚ aligning it with your upper teeth. Gently bite down to create an impression of your teeth and gums. Use your fingers to press the edges of the mouthguard firmly against your gums for a snug fit. Hold this position for a few seconds until the material starts to set. Then‚ remove the mouthguard and submerge it in cold water to cool and harden. This step ensures a secure‚ personalized fit. Avoid over-shaping‚ as it may compromise the mouthguard’s protective qualities. Proper shaping is essential for both comfort and effectiveness.
Tips for a Perfect Fit
Ensure proper alignment with your upper teeth and gums. Bite down gently but firmly to create a snug impression. Avoid rushing the shaping process for optimal comfort and protection.
Testing the Fit
After shaping‚ test the mouthguard by ensuring it fits snugly around your upper teeth and gums. Check for any areas that feel too tight or loose. You should be able to speak and breathe comfortably. If the fit is too loose‚ repeat the boiling and biting process for a few more seconds. For a tighter fit‚ gently press the walls of the mouthguard with your fingers while it’s still warm. Proper fit ensures maximum protection during activities. If unsure‚ consult a dentist for adjustments. A well-fitted mouthguard should stay in place without excessive movement or discomfort‚ providing reliable protection for your teeth and gums during sports or nighttime grinding.
Adjusting the Shape
To adjust the shape of your boil-and-bite mouthguard‚ start by carefully removing it from the boiling water with a utensil like a fork or slotted spoon. Allow it to cool for a few seconds until it’s warm but not scalding. Gently place it in your mouth‚ aligning it with your upper teeth. Bite down firmly but not too hard to shape it around your teeth and gums. Use your fingers to press the mouthguard outward or inward where necessary to achieve a comfortable fit. If areas feel too tight‚ press outward; if too loose‚ press inward. Repeat the boiling and shaping process if needed‚ ensuring the mouthguard covers all necessary areas without causing discomfort. Proper adjustment ensures optimal protection and comfort during use.

Common Mistakes to Avoid
Overheating the mouthguard can cause it to shrink or lose shape‚ while improper cooling may result in a loose fit. Avoid these errors for optimal protection.
Overheating the Mouthguard
Overheating the mouthguard is a common mistake that can lead to permanent damage. Excessive exposure to boiling water softens the material beyond repair‚ causing it to lose its shape and structural integrity. This results in a mouthguard that no longer fits securely‚ reducing its protective effectiveness. To avoid this‚ carefully follow the manufacturer’s guidelines for boiling times‚ typically between 30 to 60 seconds. If the mouthguard becomes too soft or misshapen‚ it may be unusable and require replacement. Always monitor the heating process closely to ensure the mouthguard reaches the optimal softness without overheating.
Improper Cooling
Improper cooling after boiling can lead to a poor fit and discomfort. After boiling‚ immediately submerge the mouthguard in cold water to stop the softening process and restore a firmer texture. Avoid using ice‚ as it can cause the material to harden too quickly‚ preventing proper shaping. Cooling too slowly or unevenly may result in a misshapen mouthguard that doesn’t conform to your teeth and gums. Proper cooling ensures the mouthguard retains its shape while maintaining flexibility for a secure fit. Always follow the manufacturer’s cooling instructions to achieve optimal results and ensure the mouthguard provides adequate protection and comfort during use.
Proper care ensures longevity. Clean with mild soap and store in a protective case. Replace when worn or damaged for continued protection and comfort.
Caring for Your Mouthguard
To maintain your boil-and-bite mouthguard‚ rinse it with cool water after each use and clean it with mild soap. Avoid harsh chemicals or hot water‚ as they may deform the material. Store it in a protective case to prevent damage. Regularly inspect for wear or tears and replace it if compromised. Cleaning with a toothbrush and toothpaste can also help maintain hygiene. Always follow the manufacturer’s care instructions for optimal longevity. Proper care ensures your mouthguard remains effective and comfortable for protecting your teeth during sports or sleep.

When to Replace
Replace your boil-and-bite mouthguard if it shows signs of wear‚ such as thinning‚ cracks‚ or tears. If it no longer fits snugly or loses its shape‚ it’s time for a new one. Additionally‚ if the mouthguard becomes discolored or develops an odor despite proper cleaning‚ replacement is necessary. For athletes‚ consider replacing it every season or sooner if damaged. For teeth grinding‚ replace it yearly or when the material is visibly degraded. Regular inspection ensures your mouthguard continues to provide adequate protection and comfort‚ maintaining its effectiveness for its intended purpose.