The Honeywell T6 Pro Smart Thermostat installation manual provides a comprehensive guide for homeowners and technicians․ It ensures compatibility with various HVAC systems and proper setup procedures․ This manual emphasizes the importance of precise wiring, mounting, and configuration to optimize performance and energy efficiency․ Follow the step-by-step instructions to achieve seamless installation and integration with smart home systems․
1․1 Understanding the T6 Pro Smart Thermostat
The Honeywell T6 Pro Smart Thermostat is a programmable device designed for energy efficiency and comfort․ It features a high-resolution display, remote access via the Honeywell Home app, and compatibility with smart home systems․ The thermostat learns your schedule and preferences to optimize heating and cooling․ With optional Z-Wave integration, it enhances home automation․ Its programmable capabilities allow for custom temperature settings, ensuring optimal performance and energy savings․
1․2 Importance of Proper Installation
Proper installation of the Honeywell T6 Pro Smart Thermostat ensures optimal performance and energy efficiency․ Incorrect wiring or mounting can lead to malfunctions or safety risks․ Following the manual’s guidelines guarantees compatibility with your HVAC system and smart home integration․ A correct setup also prevents connectivity issues and ensures accurate temperature control, maximizing comfort and energy savings․ A professional installation is recommended for complex systems or Z-Wave functionality to avoid errors and ensure reliability․
Pre-Installation Requirements
Ensure compatibility with your HVAC system and gather necessary tools․ Check if your system supports programmable thermostats and Z-Wave technology․ Prepare tools like drills and wire strippers for a smooth installation process and to avoid delays․
2․1 Checking Compatibility with HVAC Systems
Before installing the Honeywell T6 Pro Smart Thermostat, verify compatibility with your HVAC system․ Ensure your system supports programmable thermostats and check for Z-Wave technology requirements if applicable․ Confirm the thermostat’s voltage compatibility, typically 24V AC, and ensure your HVAC system is not heat-only without auxiliary heat․ This step avoids installation issues and ensures smooth operation with your existing setup for optimal performance and efficiency․
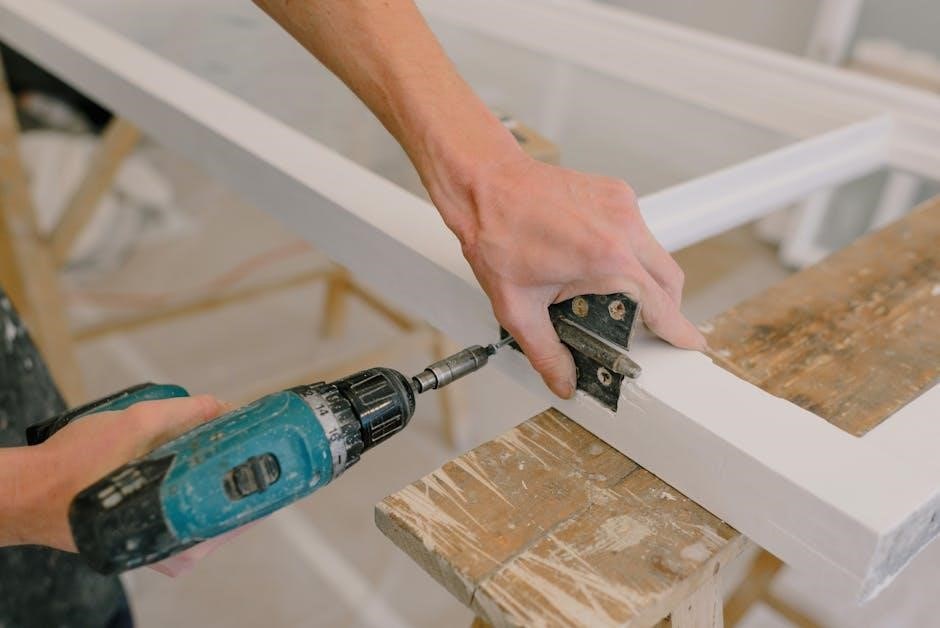
2;2 Gathering Necessary Tools and Materials
To ensure a smooth installation, gather the required tools and materials beforehand․ You will need a drill with bits, screwdrivers (Phillips and flathead), wire strippers, pliers, a voltage tester, and a level․ Materials include wall anchors, screws, and optional items like a cover plate or spacers․ Check the thermostat box for included hardware to avoid missing components․ Proper preparation ensures efficiency and safety during the installation process․

Step-by-Step Installation Process
Begin by turning off the HVAC system․ Mount the thermostat, connect the wires, and complete the physical setup․ Use the app for configuration and final checks․
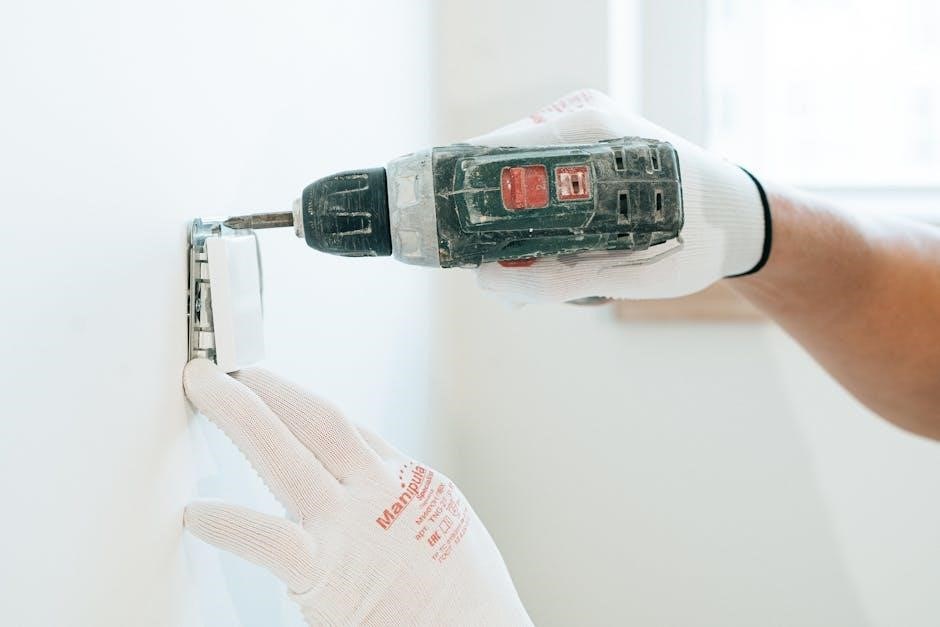
3․1 Mounting the Thermostat on the Wall
To mount the Honeywell T6 Pro Smart Thermostat, locate the wall studs for secure installation․ Use the provided template to mark drill holes․ Gently tap anchors into place and screw the thermostat base onto the wall․ Ensure the device is level and firmly attached․ If necessary, use the optional cover plate to hide gaps from previous installations․ Proper mounting ensures accurate temperature sensing and optimal performance․ Follow the manual’s diagrams for precise alignment․ This step is crucial for the thermostat’s stability and functionality․ Take care not to overtighten screws to avoid damage․ Once mounted, proceed to wiring connections․ Always refer to the provided installation guide for specific instructions tailored to your setup․ This ensures a safe and efficient installation process․
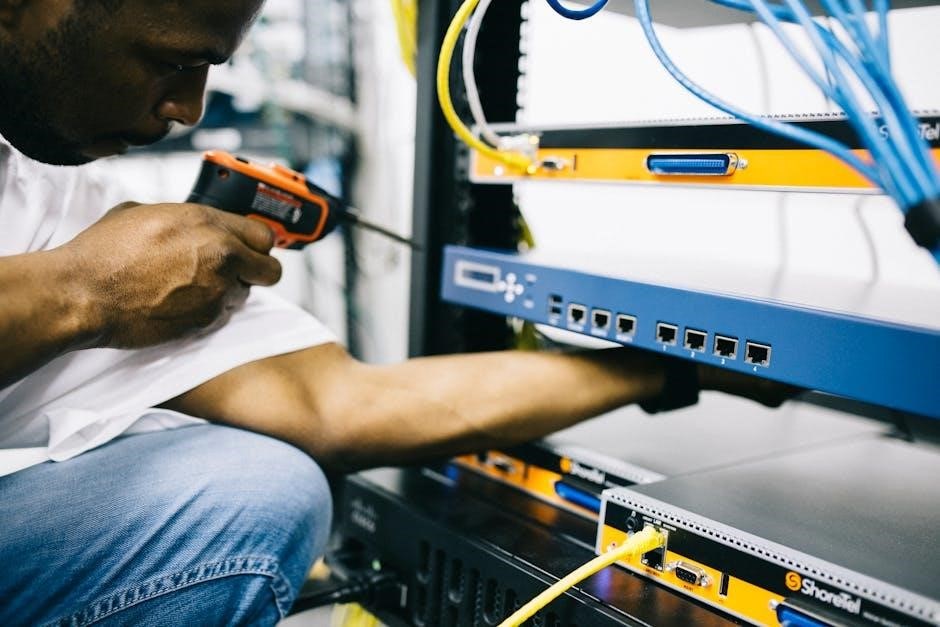
3;2 Wiring the T6 Pro Smart Thermostat
Begin by turning off power to the HVAC system at the circuit breaker․ Identify the appropriate terminals (R, W, Y, G, C, etc․) and connect the wires according to the manual; Ensure all connections are secure and match the system’s configuration․ Use the provided wire labels for clarity․ For heat pumps or dual-fuel systems, refer to specific wiring instructions․ Double-check connections to avoid malfunctions․ Proper wiring ensures smooth operation and compatibility with advanced features like Z-Wave․ Always follow safety guidelines and consult a professional if unsure․
3․3 Completing the Physical Installation
After wiring, secure the thermostat to the wall using the provided screws or anchors․ Ensure the device is level and snug against the wall for stability․ If necessary, use the optional cover plate to conceal any gaps from the previous thermostat․ Gently pull the wires through the wiring hole to avoid damage․ Double-check all connections for tightness and proper alignment․ Finally, turn the power back on at the circuit breaker and verify the display lights up․ This completes the physical installation process․
Initial Setup and Configuration
Download the Honeywell Home app and follow in-app instructions to pair the thermostat․ Set up a comfort schedule and customize temperature settings for optimal energy efficiency and comfort․
4․1 Pairing the Thermostat with the Honeywell Home App
Download the Honeywell Home app from the App Store or Google Play․ Launch the app, create an account, and log in․ Select the T6 Pro Smart Thermostat model and follow the in-app pairing instructions․ Ensure your thermostat is powered on and in pairing mode․ The app will guide you through connecting the device to your Wi-Fi network and completing the setup process for seamless smart home integration․
4․2 Setting Up a Comfort Schedule
To set up a comfort schedule on your Honeywell T6 Pro Smart Thermostat, open the Honeywell Home app and navigate to the scheduling section․ Choose pre-set options or customize times to match your daily routine․ Adjust temperatures for morning, daytime, evening, and night․ Differentiate settings for weekdays and weekends if desired․ Sync your schedule with the thermostat and enable geofencing for location-based adjustments․ Use energy reports to monitor savings and explore smart home integrations for enhanced convenience․

Troubleshooting Common Issues
Common issues with the Honeywell T6 include connectivity problems and display settings․ Check your Wi-Fi connection and ensure the thermostat is properly paired with the Honeywell Home app․ Adjust brightness settings through the menu options․ Reset the thermostat if necessary, and consult the manual for detailed troubleshooting steps to resolve any malfunctions effectively․
5․1 Resolving Connectivity Problems
Connectivity issues with the Honeywell T6 Pro Smart Thermostat often arise from unstable internet connections or incorrect pairing․ Ensure your Wi-Fi network is active and functioning properly․ Restart both the thermostat and your router․ Verify that the Honeywell Home app is up to date․ If issues persist, reset the thermostat by removing it from the wall plate for 30 seconds․ Re-pair the device through the app, following on-screen instructions․ Consult the manual for further troubleshooting steps or contact Honeywell support for assistance․
5․2 Adjusting Brightness and Display Settings
To adjust the brightness and display settings on your Honeywell T6 Pro Smart Thermostat, navigate to the menu options․ Select “Display Settings” to choose from multiple brightness levels, including an auto-dimming feature that adjusts based on ambient light․ You can also enable or disable the screen timeout and adjust the display contrast for optimal visibility․ For energy savings, consider turning off the screen when not in use․ Save your settings to ensure the changes take effect․
Advanced Features and Customization
Explore programmable capabilities and optional features like Z-Wave compatibility for enhanced smart home integration․ Customize settings to tailor your comfort experience and energy efficiency preferences seamlessly․
6․1 Enabling Programmable Capabilities
Enable programmable features on the Honeywell T6 Pro Smart Thermostat by accessing the menu through the Honeywell Home app․ Set custom schedules for heating and cooling, optimizing energy use and comfort․ This feature allows users to predefine temperature settings, reducing manual adjustments and ensuring consistent home comfort throughout the day․ Utilize these settings to align with your daily routines and preferences for optimal efficiency․
6․2 Using Optional Features like Z-Wave Compatibility
The Honeywell T6 Pro Smart Thermostat supports optional features such as Z-Wave compatibility, enabling integration with smart home systems․ To utilize this feature, ensure the thermostat is properly connected to a Z-Wave hub․ Access the menu options via the Honeywell Home app to enable Z-Wave functionality․ This allows seamless control and automation of your HVAC system within a smart home ecosystem, enhancing convenience and energy management․ Refer to the manual for detailed setup instructions and troubleshooting tips․
Maintenance and Support
Regularly update the thermostat’s firmware for optimal performance․ Clean the device to ensure accurate temperature readings․ Contact Honeywell support for technical assistance or troubleshooting․
7․1 Updating Firmware and Software
Regular firmware updates ensure the Honeywell T6 Pro Smart Thermostat operates efficiently․ Use the Honeywell Home app to check for updates․ Connect the thermostat to Wi-Fi and follow in-app prompts to download and install the latest software․ Updates improve functionality, security, and compatibility․ Always backup settings before updating to avoid configuration loss․ A stable internet connection is essential for a smooth update process․
7․2 Contacting Honeywell Support for Assistance
For any issues or questions during or after installation, contact Honeywell Support․ Visit their official website for troubleshooting guides, FAQs, and live chat options․ You can also call their customer service hotline or submit a support ticket online․ Additionally, the Honeywell Home app provides direct access to assistance․ Ensure you have your thermostat model number and installation details ready for faster resolution․
The Honeywell T6 installation manual guides users through a seamless setup process, ensuring optimal performance and energy efficiency․ Follow the steps carefully for a successful installation․
8․1 Summary of Key Installation Steps
Ensure HVAC compatibility, gather tools, and mount the thermostat․ Wire carefully, following diagram instructions․ Pair with the Honeywell Home app, set up schedules, and enable programmable features․ Resolve connectivity issues by restarting devices․ Adjust display brightness in menu settings․ Update firmware regularly for optimal performance․ Consult support if needed․ Proper installation ensures energy efficiency and smart home integration, enhancing comfort and convenience․
8․2 Final Tips for Optimal Performance
Regularly update firmware for enhanced features and security․ Adjust brightness settings to suit your preferences․ Use the Honeywell Home app to monitor and optimize energy usage․ Schedule maintenance checks to ensure system efficiency․ For unresolved issues, contact Honeywell support for assistance․ Proper care and updates will maximize the T6 Pro Smart Thermostat’s performance, providing consistent comfort and energy savings throughout the year․