
1․1 History and Features of Howard Miller Grandfather Clocks
Howard Miller, founded in 1926, is renowned for its high-quality, handcrafted grandfather clocks․ These timepieces feature intricate designs, precise mechanical movements, and a blend of traditional and modern styles․
1․2 Importance of the Instruction Manual
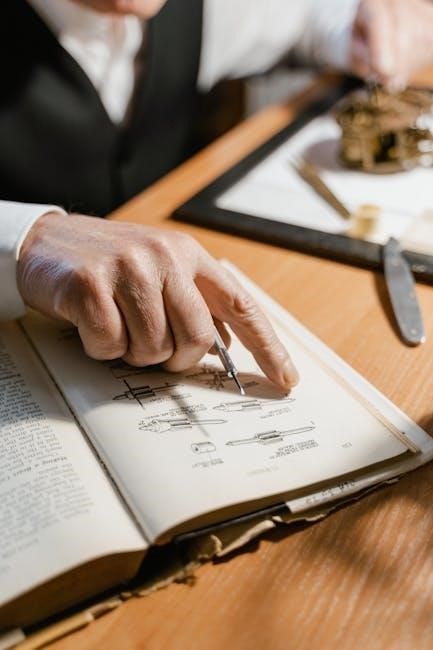
The instruction manual is essential for proper setup, operation, and maintenance․ It guides users through assembly, component identification, and troubleshooting, ensuring optimal performance and longevity of the clock․
Howard Miller, established in 1926, is a trusted name in clockmaking, offering high-quality grandfather clocks․ Known for their precision engineering and elegant designs, these clocks combine traditional craftsmanship with modern innovation․ They feature intricate carvings, durable materials like solid wood and brass, and smooth mechanical movements; Each clock is handcrafted, ensuring uniqueness and heirloom quality․ With a focus on timeless appeal, Howard Miller grandfather clocks are celebrated for their reliability, aesthetic beauty, and ability to blend seamlessly into diverse home interiors․
The instruction manual is crucial for ensuring the proper setup, operation, and maintenance of your Howard Miller grandfather clock․ It provides detailed guidance on assembling, leveling, and winding the clock, as well as setting the time and date․ The manual also covers essential care tips, such as cleaning and lubricating the movement, to preserve the clock’s longevity and functionality․ By following the manual, you can avoid common issues and ensure your clock remains accurate and elegant for years to come․

Components and Accessories
Your Howard Miller grandfather clock includes essential components like the pendulum, weights, and key․ Accessories such as gloves, cleaning cloths, and instruction manuals ensure proper setup and maintenance․
2․1 What’s Included in the Box
Your Howard Miller grandfather clock package typically includes a crank for winding, weights for movement, a pendulum, and an instruction manual․ Additional accessories like cotton gloves and cleaning cloths are often provided to ensure proper handling and maintenance․ Some models may also include a key for the clock door, chime tubes, and moon dial instructions․ These components are essential for assembling, operating, and preserving your clock’s functionality and aesthetic appeal over time․
2․2 Key Components of the Clock
The Howard Miller grandfather clock features a mechanical or quartz movement, a pendulum for time regulation, and weights that power the mechanism․ The clock face includes hour and minute hands, while chime tubes produce melodious sounds․ The base or cabinet houses the movement, and the door provides access to the interior․ Additional components like the moon dial and chains are integral to functionality and aesthetics, ensuring precise timekeeping and timeless appeal․
Assembly and Installation
Begin by carefully unboxing and inventorying all components․ Position the clock on a level surface, ensuring stability․ Follow the manual’s step-by-step guide for proper assembly and alignment․
3․1 Unboxing and Preparation
Begin by carefully unboxing your Howard Miller grandfather clock․ Ensure all components, such as the clock body, weights, pendulum, and hardware, are accounted for․ Locate the instruction manual, crank, and keys provided in the packaging․ Prepare a clean, flat surface for assembly, ensuring it is level and stable․ If placing on a carpet, use the provided protective base pad to prevent damage․ Carefully inspect each part for any signs of damage before proceeding․
3․2 Leveling and Positioning the Clock
Place the clock on a sturdy, level surface․ Use the adjustable leveling feet or shims to ensure the clock is perfectly balanced and upright․ Check the base with a spirit level to confirm accuracy․ Position the clock away from direct sunlight and drafts to maintain consistent timekeeping․ Ensure the pendulum has enough clearance to swing freely․ Secure the clock to the wall using the provided brackets to prevent tipping, especially in areas prone to movement or earthquakes․ Proper leveling ensures smooth operation and accuracy․
Operating Instructions
Ensure the clock is fully wound and leveled before operation․ Set the time by moving the minute hand counterclockwise, then adjust the hour hand․ For accurate timekeeping, follow the manual’s detailed guidance on winding, setting, and maintaining your grandfather clock․ Regular operation ensures smooth functionality and precise time accuracy․ Always refer to the instruction manual for specific operational instructions tailored to your clock model․ Proper operation guarantees years of reliable service․
4․1 Winding the Clock
To wind your Howard Miller grandfather clock, locate the winding key or crank provided in the box․ Insert the key into the center of the dial and turn it clockwise 8-10 times, ensuring the weights are fully raised․ Avoid over-winding, as this can damage the mechanism․ Wind the clock every 7-8 days to maintain accurate timekeeping․ Always refer to the manual for specific winding instructions, as different models may vary․ Proper winding ensures smooth operation and optimal performance of your timepiece․
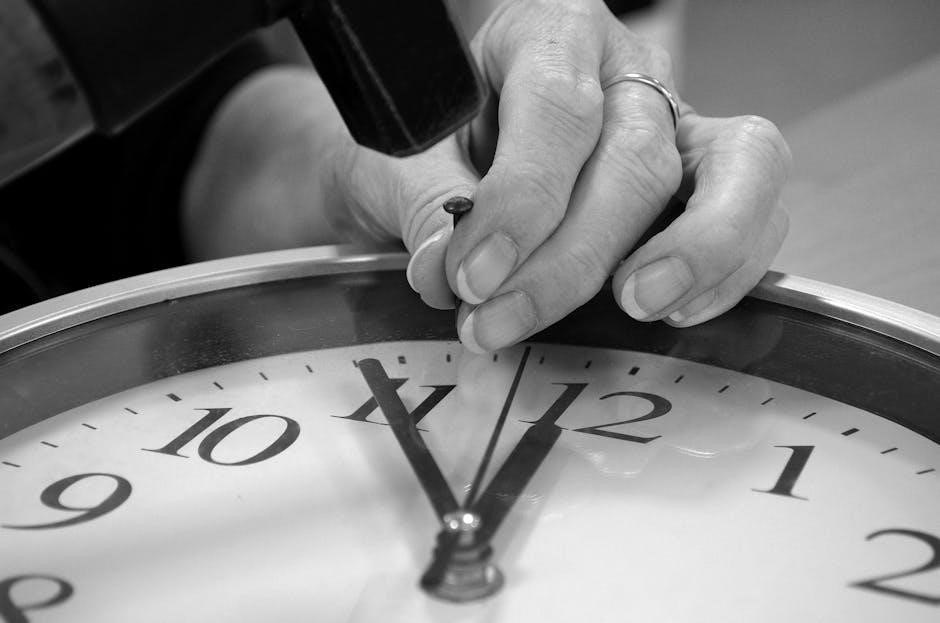
4․2 Setting the Time and Date
To set the time, gently move the minute hand counterclockwise to the desired time, then adjust the hour hand accordingly․ For the date, locate the date dial on the back or side of the clock and turn it to the correct date․ Some models also feature a moon dial; rotate it clockwise to match the lunar cycle․ Ensure all adjustments are smooth and precise to avoid damaging the mechanism․ Always refer to the manual for model-specific instructions․
Maintenance and Care
Regularly clean the clock with a soft cloth and avoid harsh chemicals․ Lubricate the movement every 2-3 years and ensure the pendulum swings freely for accurate timekeeping․
5․1 Cleaning the Clock
Regular cleaning is essential to maintain the beauty and functionality of your Howard Miller grandfather clock․ Use a soft, dry cloth to gently wipe the exterior surfaces, removing dust and fingerprints․ For intricate carvings or chime tubes, a soft-bristled brush or slightly damp cloth may be used․ Avoid harsh chemicals or abrasive materials that could damage the finish․ When handling internal components, wear cotton gloves to prevent oils from your skin affecting the mechanism․ Cleaning the movement is generally not recommended unless absolutely necessary, and even then, it should be done by a professional․
5․2 Lubricating the Movement
Lubricating the movement is crucial for maintaining the clock’s precision and longevity․ Use high-quality clock oil, applied sparingly to pivot points and gear surfaces․ Avoid over-lubrication, as excess oil can attract dust and degrade performance․ Refer to the manual for specific locations requiring lubrication․ For internal mechanisms, it is recommended to seek professional assistance to ensure proper technique and avoid damage․ Regular lubrication ensures smooth operation and preserves the clock’s mechanical integrity over time․
Troubleshooting Common Issues
Troubleshooting common issues like time inaccuracy, chime malfunctions, or mechanical hitches requires careful inspection and adherence to the manual’s guidance․ Addressing these problems promptly ensures smooth operation․
6․1 Identifying and Solving Operational Problems
Common operational issues with Howard Miller grandfather clocks include time inaccuracy, chime malfunctions, or mechanical hitches․ To address these, first, check the pendulum’s alignment and ensure weights are properly hung․ If the clock stops, verify that the chains are correctly engaged․ For chime issues, ensure the selector is set to the desired melody․ Consult the manual for detailed troubleshooting steps or contact customer support for assistance․ Regular maintenance can prevent many of these problems․ Always follow the manufacturer’s guidelines for repairs․
6․2 Adjusting the Pendulum and Weights
Adjusting the pendulum and weights ensures accurate timekeeping․ Hang the pendulum carefully, using gloves to avoid oil residue․ Level the clock and ensure the pendulum swings evenly․ For weights, lift or lower them gently, avoiding force․ Each weight corresponds to specific functions, so their balance is crucial․ Fine-tune the pendulum’s regulating nut to achieve precise time accuracy․ Refer to the manual for specific adjustments or contact Howard Miller support if issues persist․ Proper alignment ensures smooth operation and maintains the clock’s heritage quality․
The Pendulum and Weights
The pendulum regulates timekeeping, ensuring consistent accuracy, while weights power the clock’s mechanical movement․ Proper installation and alignment are vital for smooth operation and precise time accuracy․
7․1 Importance of the Pendulum
The pendulum is crucial for regulating the clock’s timekeeping, ensuring consistent accuracy․ Its rhythmic swing drives the mechanical movement, maintaining precise time․ Proper installation and care are essential to prevent operational issues and ensure smooth functionality over time․
7․2 Installing and Adjusting the Weights
Installing and adjusting the weights is crucial for the clock’s operation․ Typically, there are three weights: one for the clock’s gears, one for the chimes, and one for the strike․ They are usually connected by chains or cables and provide the necessary power as they descend․ Proper installation involves hanging them in the correct order, often starting with the heaviest weight․ Adjustments ensure even spacing and alignment, which are vital for accurate timekeeping and smooth functionality․ Using gloves or a soft cloth is recommended to handle the weights without causing damage or altering their balance․ Regular maintenance, such as ensuring the weights move freely without obstructions, is essential for optimal performance․ Safety precautions, like stabilizing the clock before handling the weights, are important to prevent accidents․ Following the manufacturer’s instructions carefully is key to ensuring the clock runs correctly and endures for years․
Setting Up the Chime System
8․1 Understanding Chime Mechanisms
Howard Miller grandfather clocks feature mechanical or quartz chime systems․ The chimes are typically operated by hammers striking metal rods, producing melodious sounds․ Proper synchronization ensures chimes align with the correct time, enhancing the clock’s aesthetic and functional appeal․ Understanding the mechanism helps in troubleshooting and maintaining optimal performance․
Howard Miller grandfather clocks feature chime mechanisms that produce melodious sounds through hammers striking metal rods․ These systems are either mechanical or quartz-based, ensuring precise timing and tunefulness․ The chimes, often set to traditional melodies like Westminster, operate via a control system that regulates the sequence and timing of the strikes․ Proper setup and synchronization are crucial for optimal performance, enhancing both the clock’s functionality and aesthetic appeal in any home setting․
8․2 Synchronizing Chimes with Time
To synchronize chimes, ensure the clock shows the correct time․ Adjust the minute hand counterclockwise to set the time without affecting chimes․ Use the chime control system to select the desired melody and timing․ Rotate the moon dial clockwise for lunar synchronization․ If it doesn’t move, adjust the minute hand counterclockwise by three hours․ Wear cotton gloves to handle internal parts․ Ensure the pendulum swings smoothly and weights are balanced for accurate chime timing․ Test adjustments over time to confirm synchronization․ Refer to troubleshooting if issues arise․
Thank you for following the Howard Miller Grandfather Clock instruction manual․ This guide has provided comprehensive instructions on assembly, operation, maintenance, and troubleshooting to ensure your clock operates perfectly․ By adhering to these guidelines, your grandfather clock will remain a precise timekeeper and a stunning home decor piece for years to come․ Proper care will preserve its heirloom quality for future generations․ Should any issues arise, refer back to this manual for solutions․ Enjoy your elegant timepiece and cherish it․